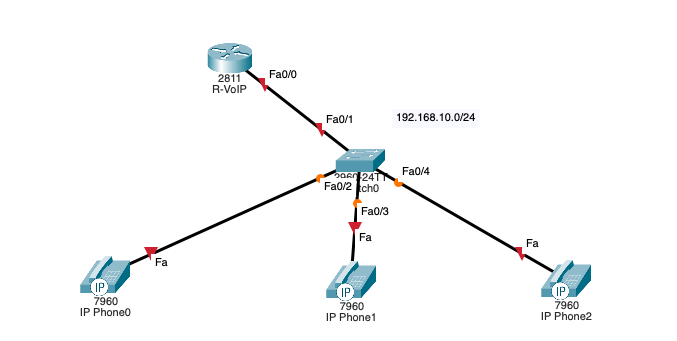
Hello everyone, in this tutorial I’ll discuss about how to configuration VoIP on Cisco Packet tracer. This is topology that will used on.
In this lab we will use the following devices :
- Router 2811
- Switch
- IP Phone 7960
Configuration Router
First step we will configure the router as the following
Enable interfaces :
Router>enable
Router#configure terminal
Router(config)#hostname R-VoIP
R-VoIP(config)#int fa0/0
R-VoIP(config-if)#no shut
R-VoIP(config-if)#exit
R-VoIP(config)#
Then Create sub interface on R-VoIP with vlan-id is 10 because we will use vlan 10 on this tutorial :
R-VoIP(config)#int fa0/0.10
R-VoIP(config-subif)#encapsulation dot1Q 10
R-VoIP(config-subif)#ip add 192.168.10.1 255.255.255.0
R-VoIP(config-subif)#exit
Configure DHCP Server on R-VoIP dan setup dhcp option 150 for ip-phone communication
R-VoIP(config)#ip dhcp excluded-address 192.168.10.1
R-VoIP(config)#ip dhcp pool DHCP_PHONE
R-VoIP(dhcp-config)#network 192.168.10.0 255.255.255.0
R-VoIP(dhcp-config)#default-router 192.168.10.1
R-VoIP(dhcp-config)#option 150 ip 192.168.10.1
R-VoIP(dhcp-config)#exit
Configuration Telephone Service. max-dn and max-ephones values are adjust to how many numbers of ip-phone that will used. ephone-dn command used for assign phone number of each dn.
R-VoIP(config)#telephony-service
R-VoIP(config-telephony)#ip source-address 192.168.10.1 port 2000
R-VoIP(config-telephony)#max-dn 3
R-VoIP(config-telephony)#max-ephones 3
R-VoIP(config-telephony)#auto assign 1 to 3
R-VoIP(config)#ephone-dn 1
R-VoIP(config-ephone-dn)#number 0811
R-VoIP(config-ephone-dn)#exit
R-VoIP(config)#ephone-dn 2
R-VoIP(config-ephone-dn)#number 0812
R-VoIP(config-ephone-dn)#exit
R-VoIP(config)#ephone-dn 3
R-VoIP(config-ephone-dn)#number 0813
R-VoIP(config-ephone-dn)#exit
R-VoIP(config)#
Configuration Switch
Configuration switchport and vlan :
SW(config)#int fa0/1
SW(config-if)#switchport mode trunk
SW(config-if)#exit
SW(config)#vlan 10
SW(config-vlan)#name VOICE
SW(config-vlan)#exit
SW(config)#int range fa0/2-4
SW(config-if-range)#switchport mode access
SW(config-if-range)#switchport voice vlan 10
SW(config-if-range)#exit
SW(config)#
Configuration IP Phone
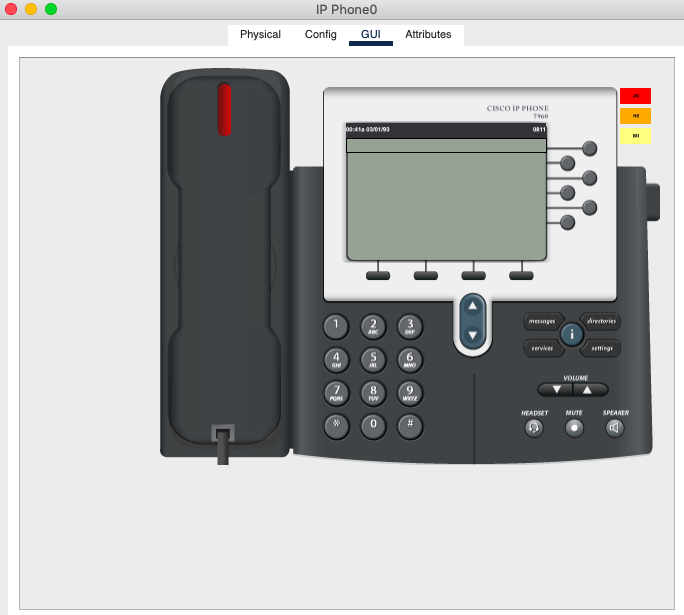
Turn on Ip Phone with drag and drop power adaptor icon as the following :

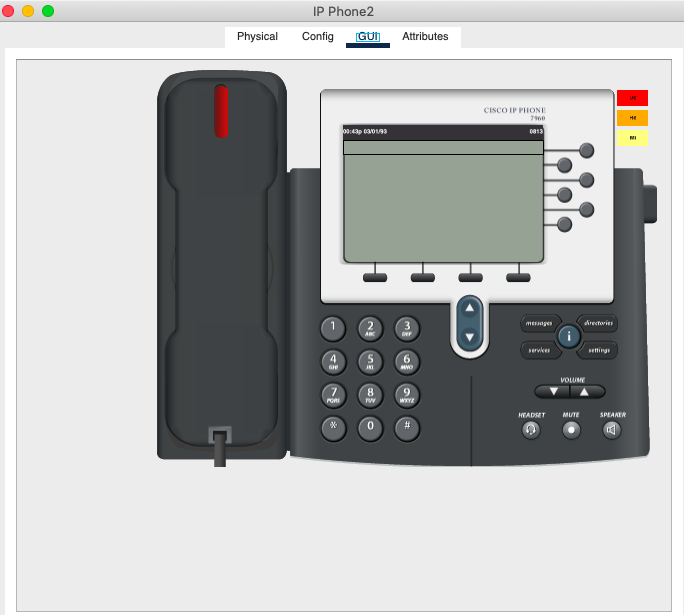
Then move to GUI Tab and make sure the ip phones already got the phone number as the following.

Testing for Calling :
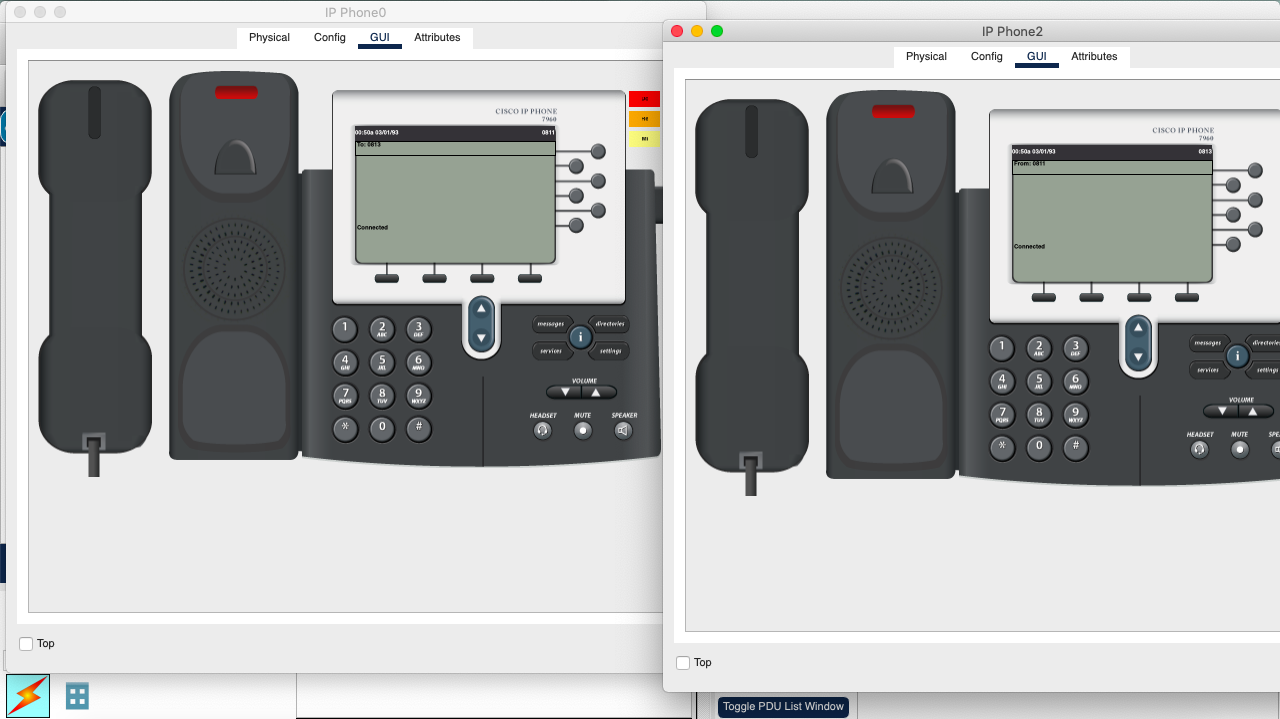
Calling is successfull.
Fashion Styles
I have not checked in here for a while since I thought it was getting boring, but the last few posts are great quality so I guess I抣l add you back to my everyday bloglist. You deserve it my friend 🙂
Hairstyles
Great write-up, I am regular visitor of one抯 web site, maintain up the nice operate, and It is going to be a regular visitor for a lengthy time.
Fashion Styles
Well I truly liked studying it. This subject offered by you is very useful for correct planning.
Fashion Styles
Thanks for the guidelines you have shared here. One more thing I would like to express is that computer system memory specifications generally rise along with other breakthroughs in the technological know-how. For instance, when new generations of processors are made in the market, there’s usually a corresponding increase in the dimensions preferences of both the computer system memory along with hard drive space. This is because the software program operated by simply these processors will inevitably increase in power to make new technology.